Canning is a great way to be creative in the kitchen and preserve your food while making memories that will last. It can be a bit intimidating to someone who has never canned before, but it’s much easier than it looks. Just remember the result is worth it—we promise!
What You’ll Need
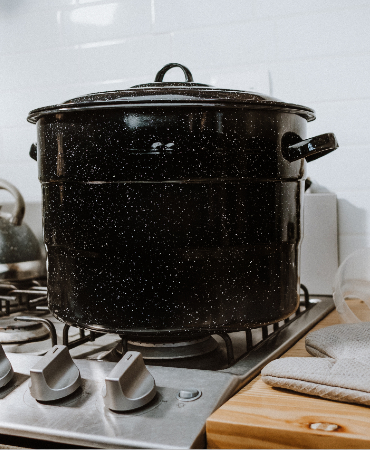
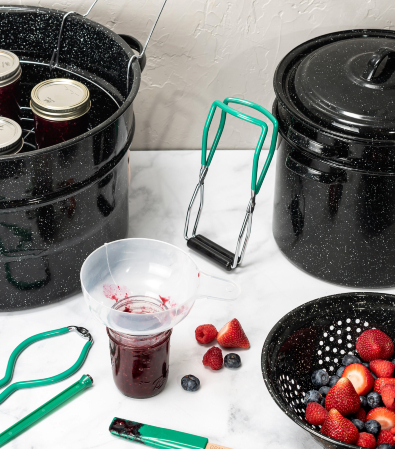
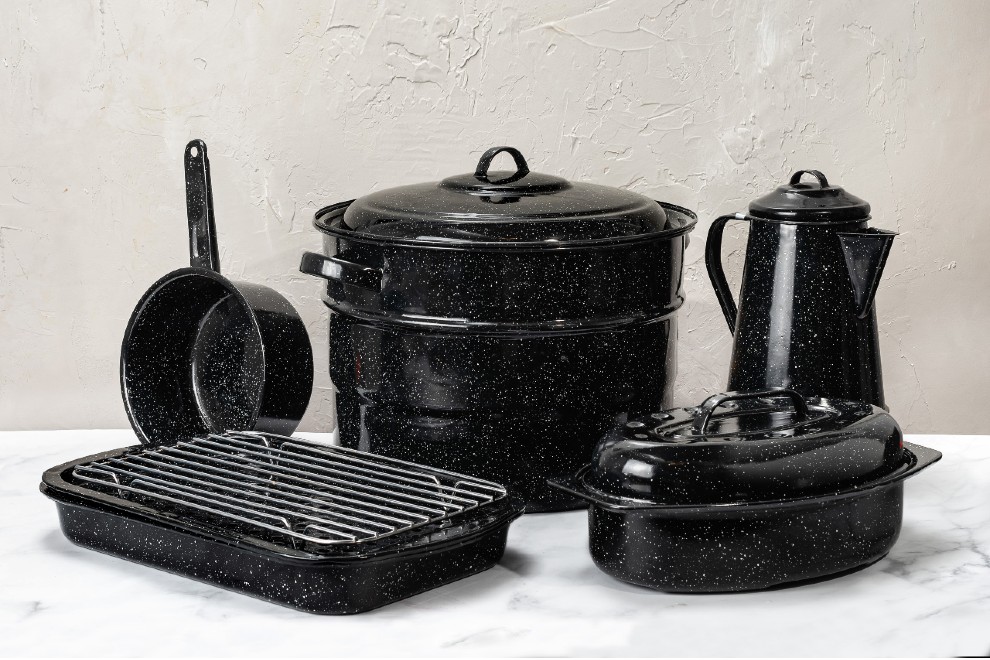
The Granite Ware 12 Piece Canning Kit has everything you need to can and is constructed with durable enamel-on-steel to heat quickly and efficiently. It includes -
-
21.5-quart Water Bath Canner: Holds seven 1-quart jars.
-
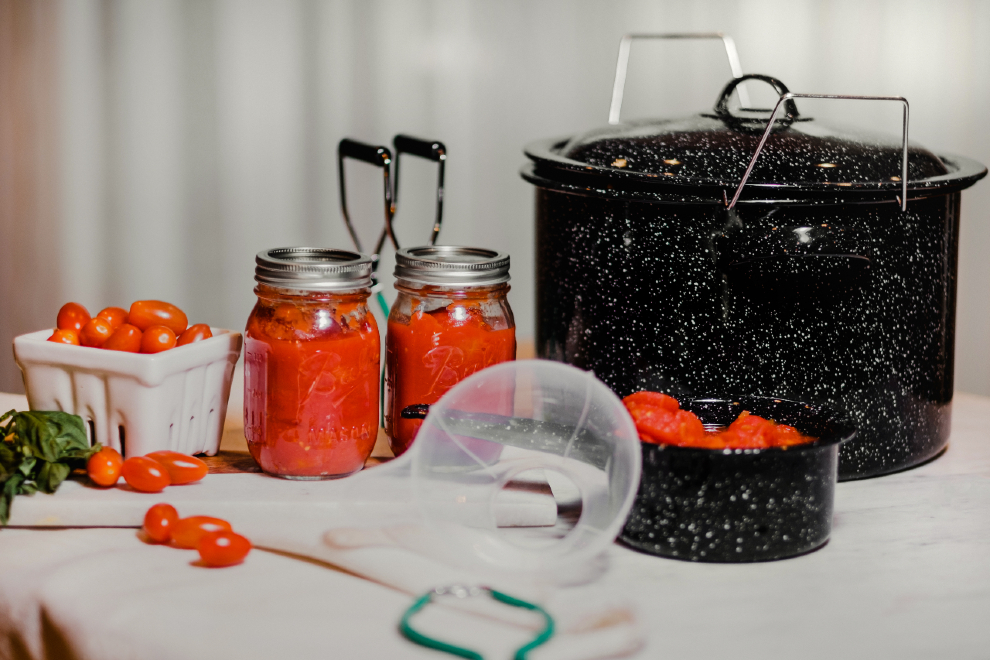
Bubble Remover: Flexible, tapered silicone scraper releases trapped air along the sides and deep down in the corners of the jar.
-
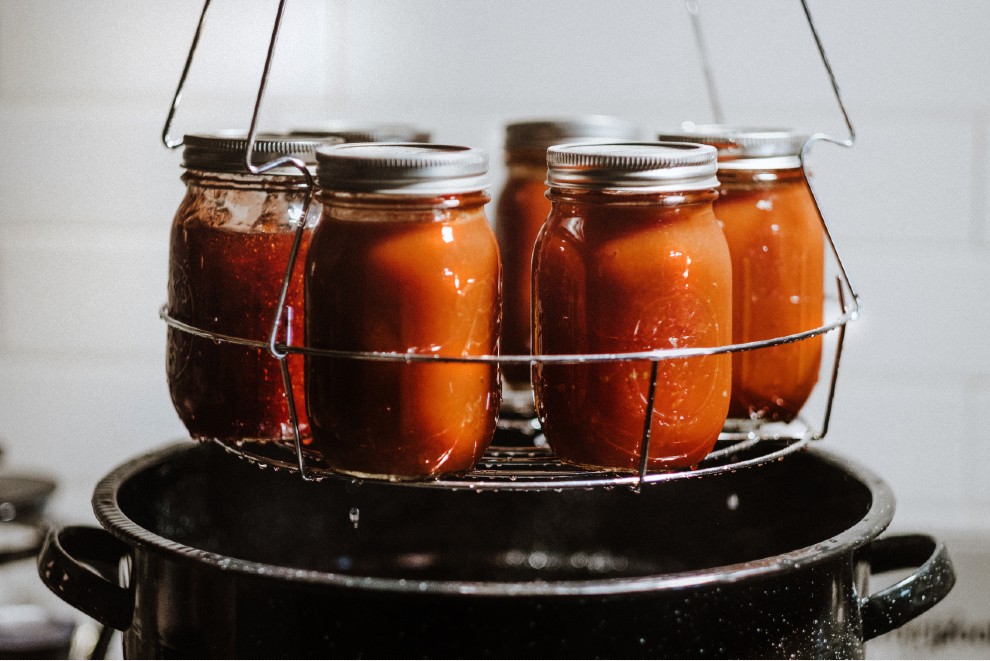
Jar Lifter: An essential tool for safely handling sterilized jars before canning begins, and removing hot jars from canning racks when canning process concludes.
-
Lid Lifter: Magnetic tool that transports sterilized lids from canner to jar as needed & dash; lids should never be touched by hand once sterilized and ready to use.
-
Jar Wrench: Tighten or remove lid bands in a cinch. Fits quart, pint, and half-pint lid sizes. The wrench is durable gauge wire for strength, and plastic coated for safety and non-slip performance.
-
Funnel: Specially designed funnel fits standard and wide-mouth canning jars for easy, no-mess filling and clear color facilitate a better understanding of food movement.
-
Jar Rack: makes lifting jars out easy and is collapsible to save space.
-
Blancher with Drainer Insert: 7.5-quart capacity - the perfect size for preparing fruits and vegetables for canning or freezing.
-
Colander: 9.5-inch diameter and features multiple holes that are higher on the sides, plus sits on two feet for easy drainage.
Canning is a fairly simple process. Fill a clean jar with prepared food, attach a flat lid and a threaded ring to the jar, and submerge it in boiling water for a specified amount of time (timings can vary greatly, depending on what you're canning). Heat escapes from the hot jar as soon as it is removed from the water, taking with it any air left in the jar. An airtight seal is created when the escaping oxygen pulls the lid down. Seals are maintained by a food-safe compound embedded in the lid. Using this method, high-acid foods can be preserved for at least a year.
Canning Steps
Step 1 - Find a Recipe. Our Instagram page features canning recipes that are delicious and will enhance your table with a professional touch. For this example, we will be explaining the process of canning jam or jelly.
Step 2 - Start with reliable fresh fruits. Neither frozen nor defrosted ingredients should be used. Pectin, which is a component of jam and jelly, is affected by freezing and the gelling process is delayed. Be careful not to use bruised or moldy fruits or vegetables.
Step 3 - Sterilize your jars (explained in step 4) so that they are safe for your produce. Use the Granite Ware Jar lifter when handling sterilized jars so that they stay clean.
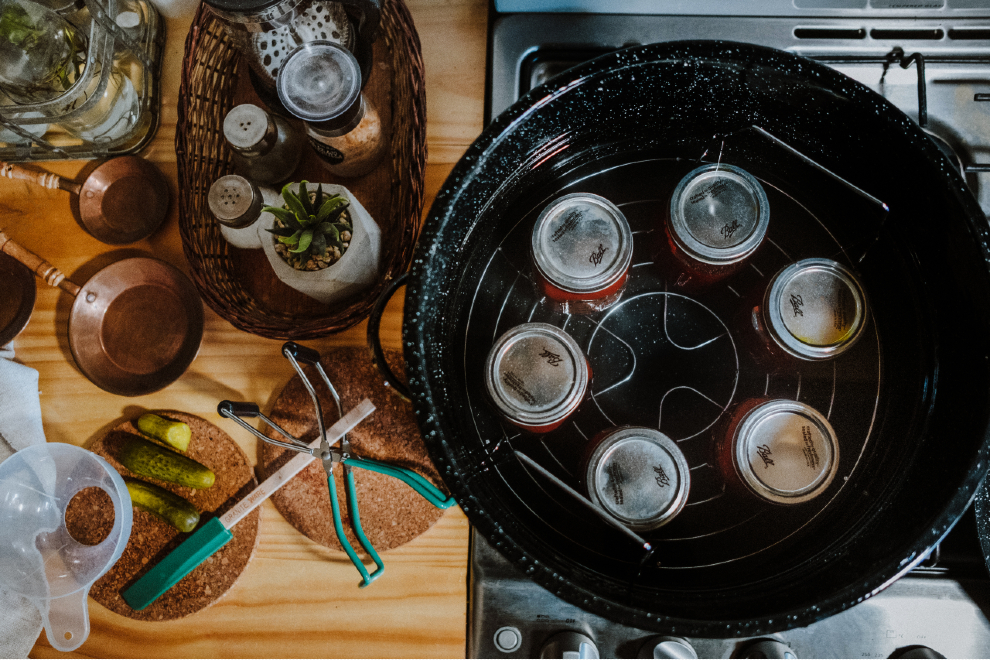
Step 4 - Add enough water to fill the canning jars and cover them by at least one inch in the bottom of the Granite Ware water bath canner, store the clean jars on the rack. Once the water reaches a boil, allow it to gently simmer for 10 minutes to prepare the lids and rings once you remove the jars. Once the lids are in the water, turn off the heat and keep them in the water until ready to use.
Step 5 - Use the Granite Ware jar lifter to remove the jars from the simmering water, and carefully pour the water back into the pot. Dry the jars by flipping them upside-down with the Granite Ware jar lifter on the Granite Ware jar rack..
Step 6 - Ladle your prepared recipe into the hot jars, using the Granite Ware canning funnel to keep the jar rims clean. Be sure to leave the airspace (specified by the recipe) with the help of the Bubble Remover that has a ruler. Work quickly to transfer the hot mixtures into the hot (or nearly hot) jars.
Step 7 - Place a lid and a ring onto each jar using Granite Ware's lid-lifter; screw just until fingertip-tight. Carefully lower the filled jars back onto the rack in the pot of simmering water using the Granite Ware jar lifter to keep them upright. Make sure there is at least one inch of water above the top of the jars, if necessary. Bring the water to a full rolling boil, cover, and increase the heat. Put a timer on, and set the water to boil for the amount of time indicated in the recipe, adjusting for altitude if necessary. Be sure to keep the jars upright when removing them with the jar lifter.
Step 8 - The jars should be placed on a towel-lined or wooden surface where they can rest for 12 to 24 hours. Do not tighten or adjust rings. When jars cool, lids may pop. Be calm - it's all part of what brings you deliciousness.
Step 9 - Remove the rings and inspect the lids when the jars have cooled for 12 to 24 hours. Lids should be concave in the middle and tightly attached along their edges. You can press down with your finger on the middle of each lid. The lid must not move to seal the jar. Store upright in a cool, dark place for up to 1 year (once opened, store in the refrigerator for up to 1 month).
I know it may seem like a long process - but it is all a part of the fun. Find joy in the making of all the delicious canning recipes you can. This guide should have you well on your way to make the most of your produce and preserve your food. Let’s get to canning!
Related
Get delicious recipes, ideas, and special deals all as easy as opening your email and getting your cook on!